In this blog post we will go through how to use piles found in Naviate together with Revit and how the functions in Naviate can be used to create data and drawings.
Working with Piles in Revit can be somewhat tricky. To be able to optimize this workflow we have added some functions in Naviate Structure to help you. Everything from drawing, extending or trimming them and of course numbering them in an efficient way.
Take this opportunity and see below how we have solved the different topics.
Draw piles
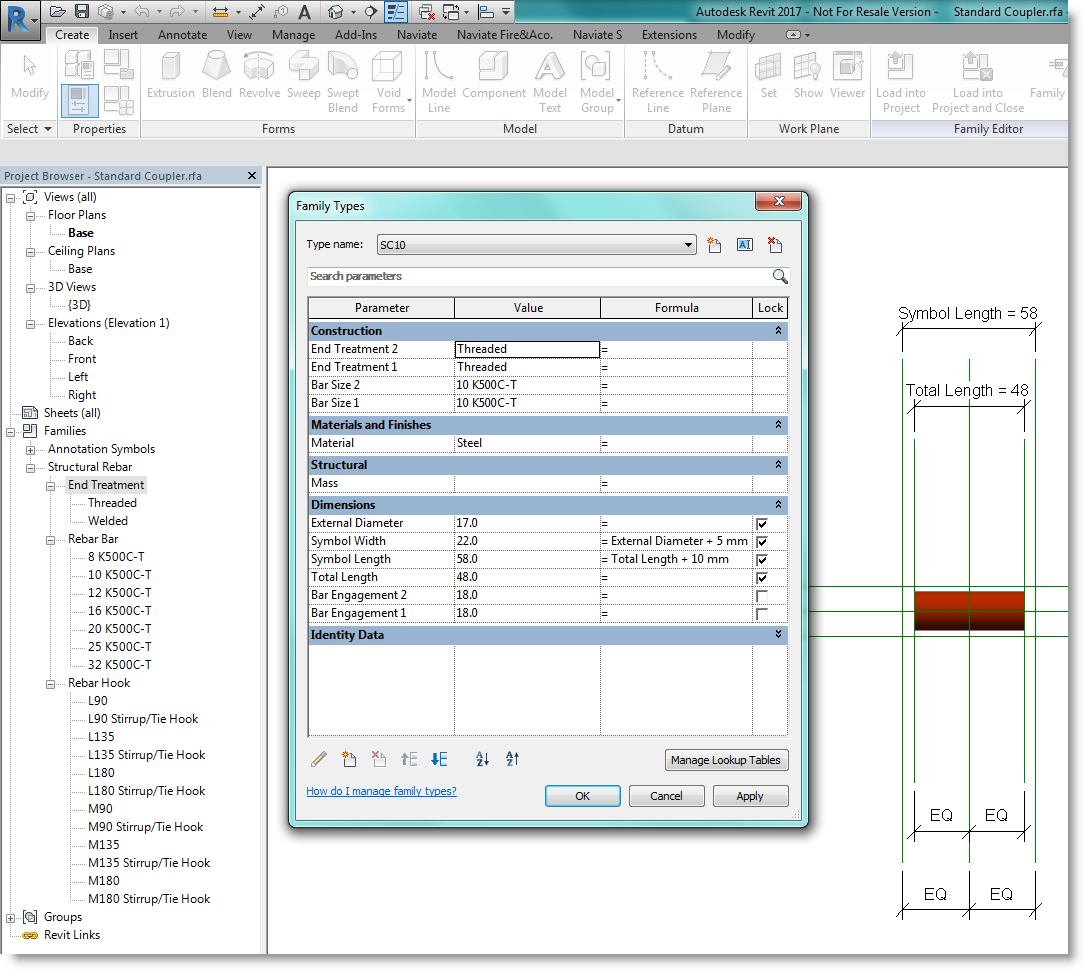
In the Naviate library you will find the structural foundations folder containing families for piles. In this example we use pile concrete rectangular. In order for coordinates and automatic pile lengths to work, certain parameters are required. These are built into the Naviate families pile concrete rectangular, concrete pile circular and RR pile.
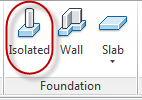
Use isolated foundation to place the piles. Let's say that the piles are initially drawn (hosted) to level 1. You can still switch the host by selecting the piles, selecting pick new work plane and clicking on another level, floor or toposurface.
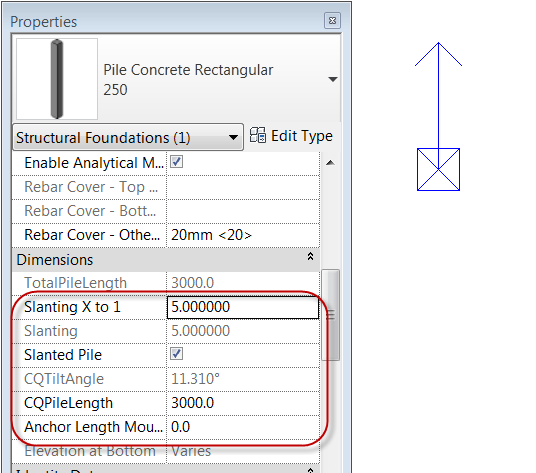
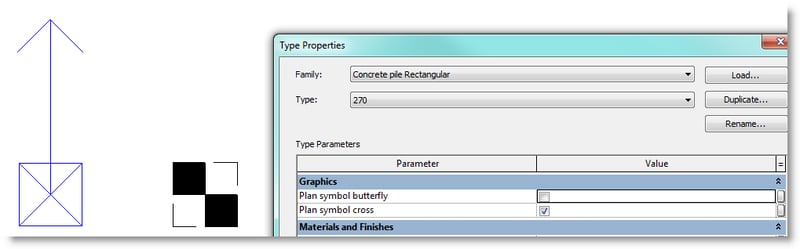
If the piles are to be tilted, it is stated in properties. Check slanted pile and then enter the slope in slanting X to 1. The value "5" gives the slope 5: 1. The slope is also displayed in degrees on the parameter CQTiltAngle. Tilted piles automatically show an arrow symbol in plan views. Finally, rotate the piles in the right direction.

Extend Piles
If test drilling has been carried out at the construction site or there are other data on solid surface, you can simulate a surface in Revit called toposurface. The solution is available on the massing and site tab. You can insert points manually or import from dwg files or text files (csv).

So far in our example, the piles have the same length. We will now extend them towards our toposurface. The Naviate tab has a simple but very effective solution called pile extend/trim. Simply highlight the current surface and press the button!
The piles are extended in the direction in which they are drawn and stop to the surface, slope is maintained. If you want to specify an anchor length "past" the surface, use the anchor length mountain parameter in properties. The individual length of the piles can be seen in TotalPileLength.

Coordinates
Since Revit is a bit "secret" when it comes to displaying coordinates, we must use shared coordinates and update coordinates from Naviate.
The function creates these parameter values that we will present in a schedule shortly:
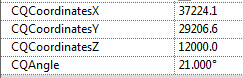
CQAngle shows the rotation of slanted piles. If the piles are moved, the function must be run again to update the coordinates, or you must configure yourself when to update the piles using the update project. Read more about that here: https://help.symetri.com/display/HELPNAVSTRUCT/Update+Project
Numbering
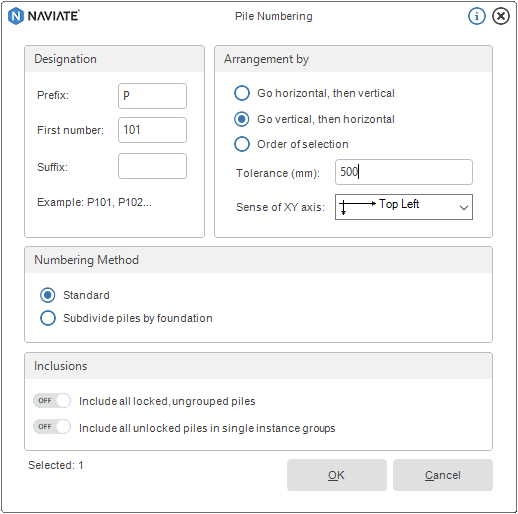
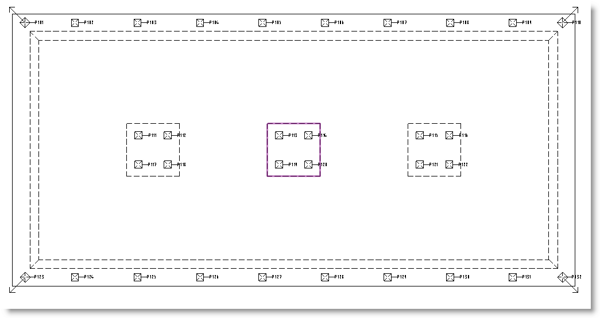
Go to a plan view where you see the piles, they should now be numbered. Pile numbering writes a value to the parameter "mark". Enter prefix and first number + ev. suffix for the value from which you want the function to start numbering. If the number is already occupied by another pile in the project, the next vacant number will be taken. If there are already numbered piles in the project, the first available numbers are displayed in the box.

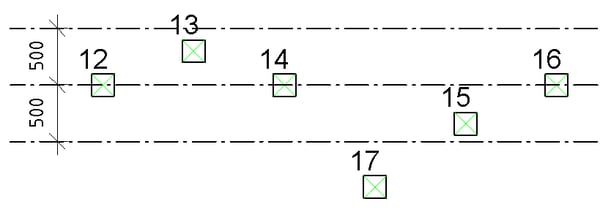
You can choose whether the numbering should be done in rows or columns, the order of selection gives you the opportunity to choose your own order. Tolerance determines the area to be treated as a row or column. The intention is to be able to get a sensible number of series even if the piles are not standing along a completely straight line.
If the tolerance is set to e.g. 500 mm gives the following effect:
CQLockedNumber is an instance parameter controlled by the function to avoid using the same value to more than one pile. Piles assigned a number by the function are automatically locked. The parameter can also be locked and unlocked manually, via properties or in a list. Be sure to unlock the parameter if you have copied piles that have already been numbered before running the pile numbering function again. To renumber locked piles, you can also check the box for Include all locked, un-grouped piles.
CQType is a type parameter that must have the value pile for the pile type to be included in the numbering.
Schedule
In the template file from Naviate there is a pile schedule. There are great opportunities to control how and what should be displayed in a schedule, the most important parameters are shown below.

Tags
Tags on piles can easily be presented with the usual tag functions in Revit. Naviate Structure has ready-made examples of families for this. Another easier option is to run the Naviate function pile tag.

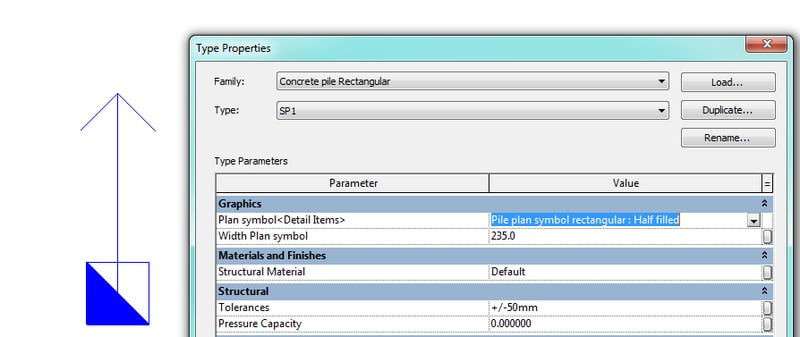
Symbols
Depending on which family of piles you use, the symbols will work a little differently. The piles that are included in the template file Naviate Structure template have two different variants of symbols that can be selected in type properties.
There is also a folder under Structural Foundations called pile structural plan up. These piles are for display in view direction - up. They have more choices when it comes to symbols of the type and the symbols will only appear in detail level: corse.
Note
Do not make groups of piles and foundations, and do not nest the piles into other foundation families. If you want the piles to be adjusted in several foundations at the same time use global parameters instead to control the appearance of several foundations with piles at the same time.
Want to know more
Want to try it out for yourself? Download a free trial here: