One function we have been asked to add to Naviate Basic tools is Family and Project Upgrader which goes through your Family and Project files and updates them to your version of Revit. This thing can be accomplished pretty easily with Dynamo, a tool which is currently installed with Revit to your system.
Step-by-step
Dynamo is a visual coding tool for Revit. It has similar tools and functions to those of famous Grasshopper for Rhinoceros. Tools included within basic installation of Revit are pretty basic and for this Dynamo script we also need a Rhythm-package installed to Dynamo.
Dynamo can be found on the far right side of the Manage-tab in Revit.

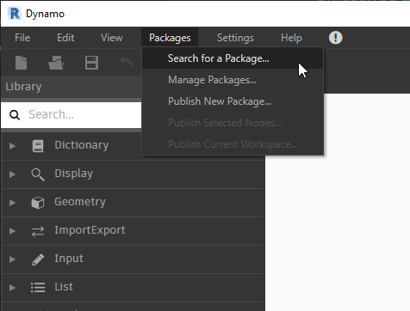
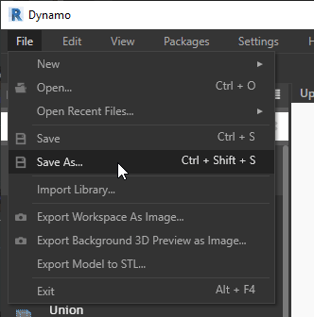
The installation of the new packages for Dynamo can be accomplished from the Dynamo window, under the “Packages”-dropdown selecting “Search for a Package” as shown below.
This will open a new window which will be loading for a while and update the package database.
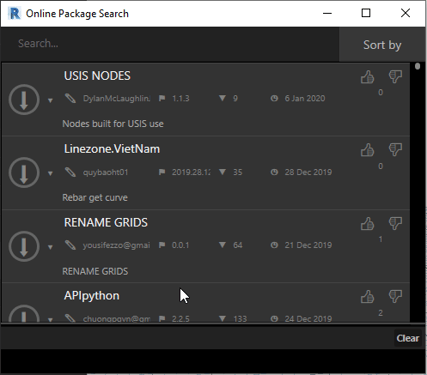
For this example we need a package called Rhythm which includes two “nodes” we don´t get on basic installation of Dynamo. To find the Rhythm-package you just need to write it in the search bar and it will search it for you.
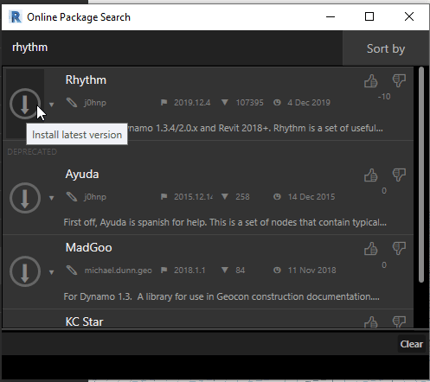
And to install the package, click the down arrow scripted as “Install latest version”.
Now that we have all necessary things installed, we can start to think of what we need to ask the Dynamo to do. In this kind of basic tasks the easiest way to move forward is to imagine what steps a user would take:
- Open a folder where the file needed to upgrade is located
- Open the file and let Revit upgrade the file to the new version
- Save the file in new format
- Close the file
- Start all over with next file
So these are the steps we need to tell the Dynamo to do one after the other by using command nodes.
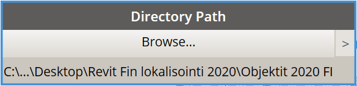
First thing is to point out the folder where the Projects and Families are located, with Directory Path-node
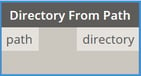
Second node we will be using is Directory From Path-node
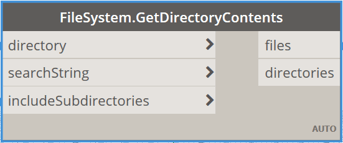
And you can just drop the nodes wherever on the Dynamo window and we will join then on later stage of the tutorial. The next node is the first bigger node with several inputs and outputs and it is called FileSystem.GetDirectoryContent-node with which you can point to a Directory, search files and even include or exclude sub-directories. This node picks the file information for the next block to work with.
The next node we need to insert is the first node from the previously installed Rhythm-package called Applications.OpenDocumentFile-node which will pick up the file shown with the previous node and open it in Revit.
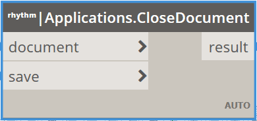
And as you might have guessed, we now have a file open so we need to save it and close it. This is done with Rhythm-node called Applications.CloseDocument-node.
Last node for the workflow is Watch-node.

Now we have all the necessary nodes on place and now those nodes needs to be connected as shown below.

And to make the code work as well as possible, lets add two more nodes called Boolean and route them to IncludeSubdirectories and Save as shown below.

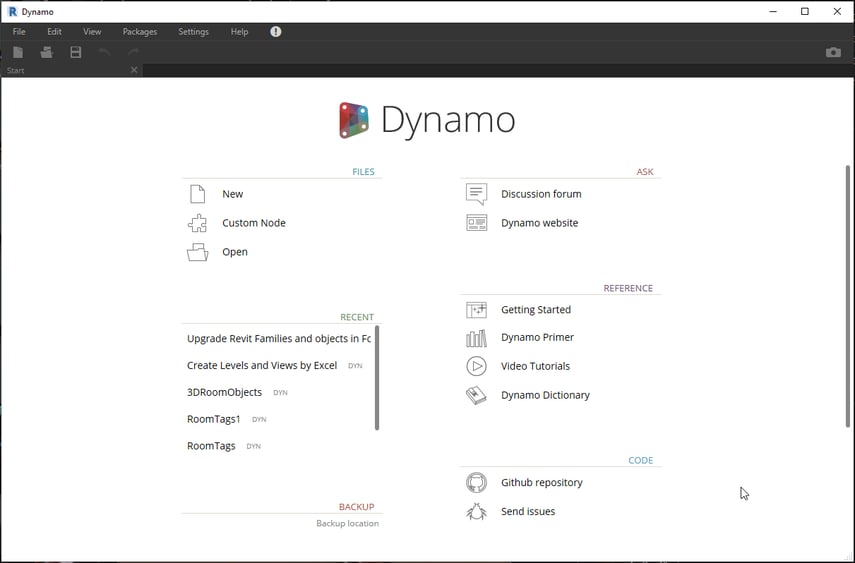
Now you can save your Dynamo project and start to use it on your computer and it will be shown at Recent files on the Dynamo Starting screen.
Any topics you want to read more about? Let us know, we'll get into it!